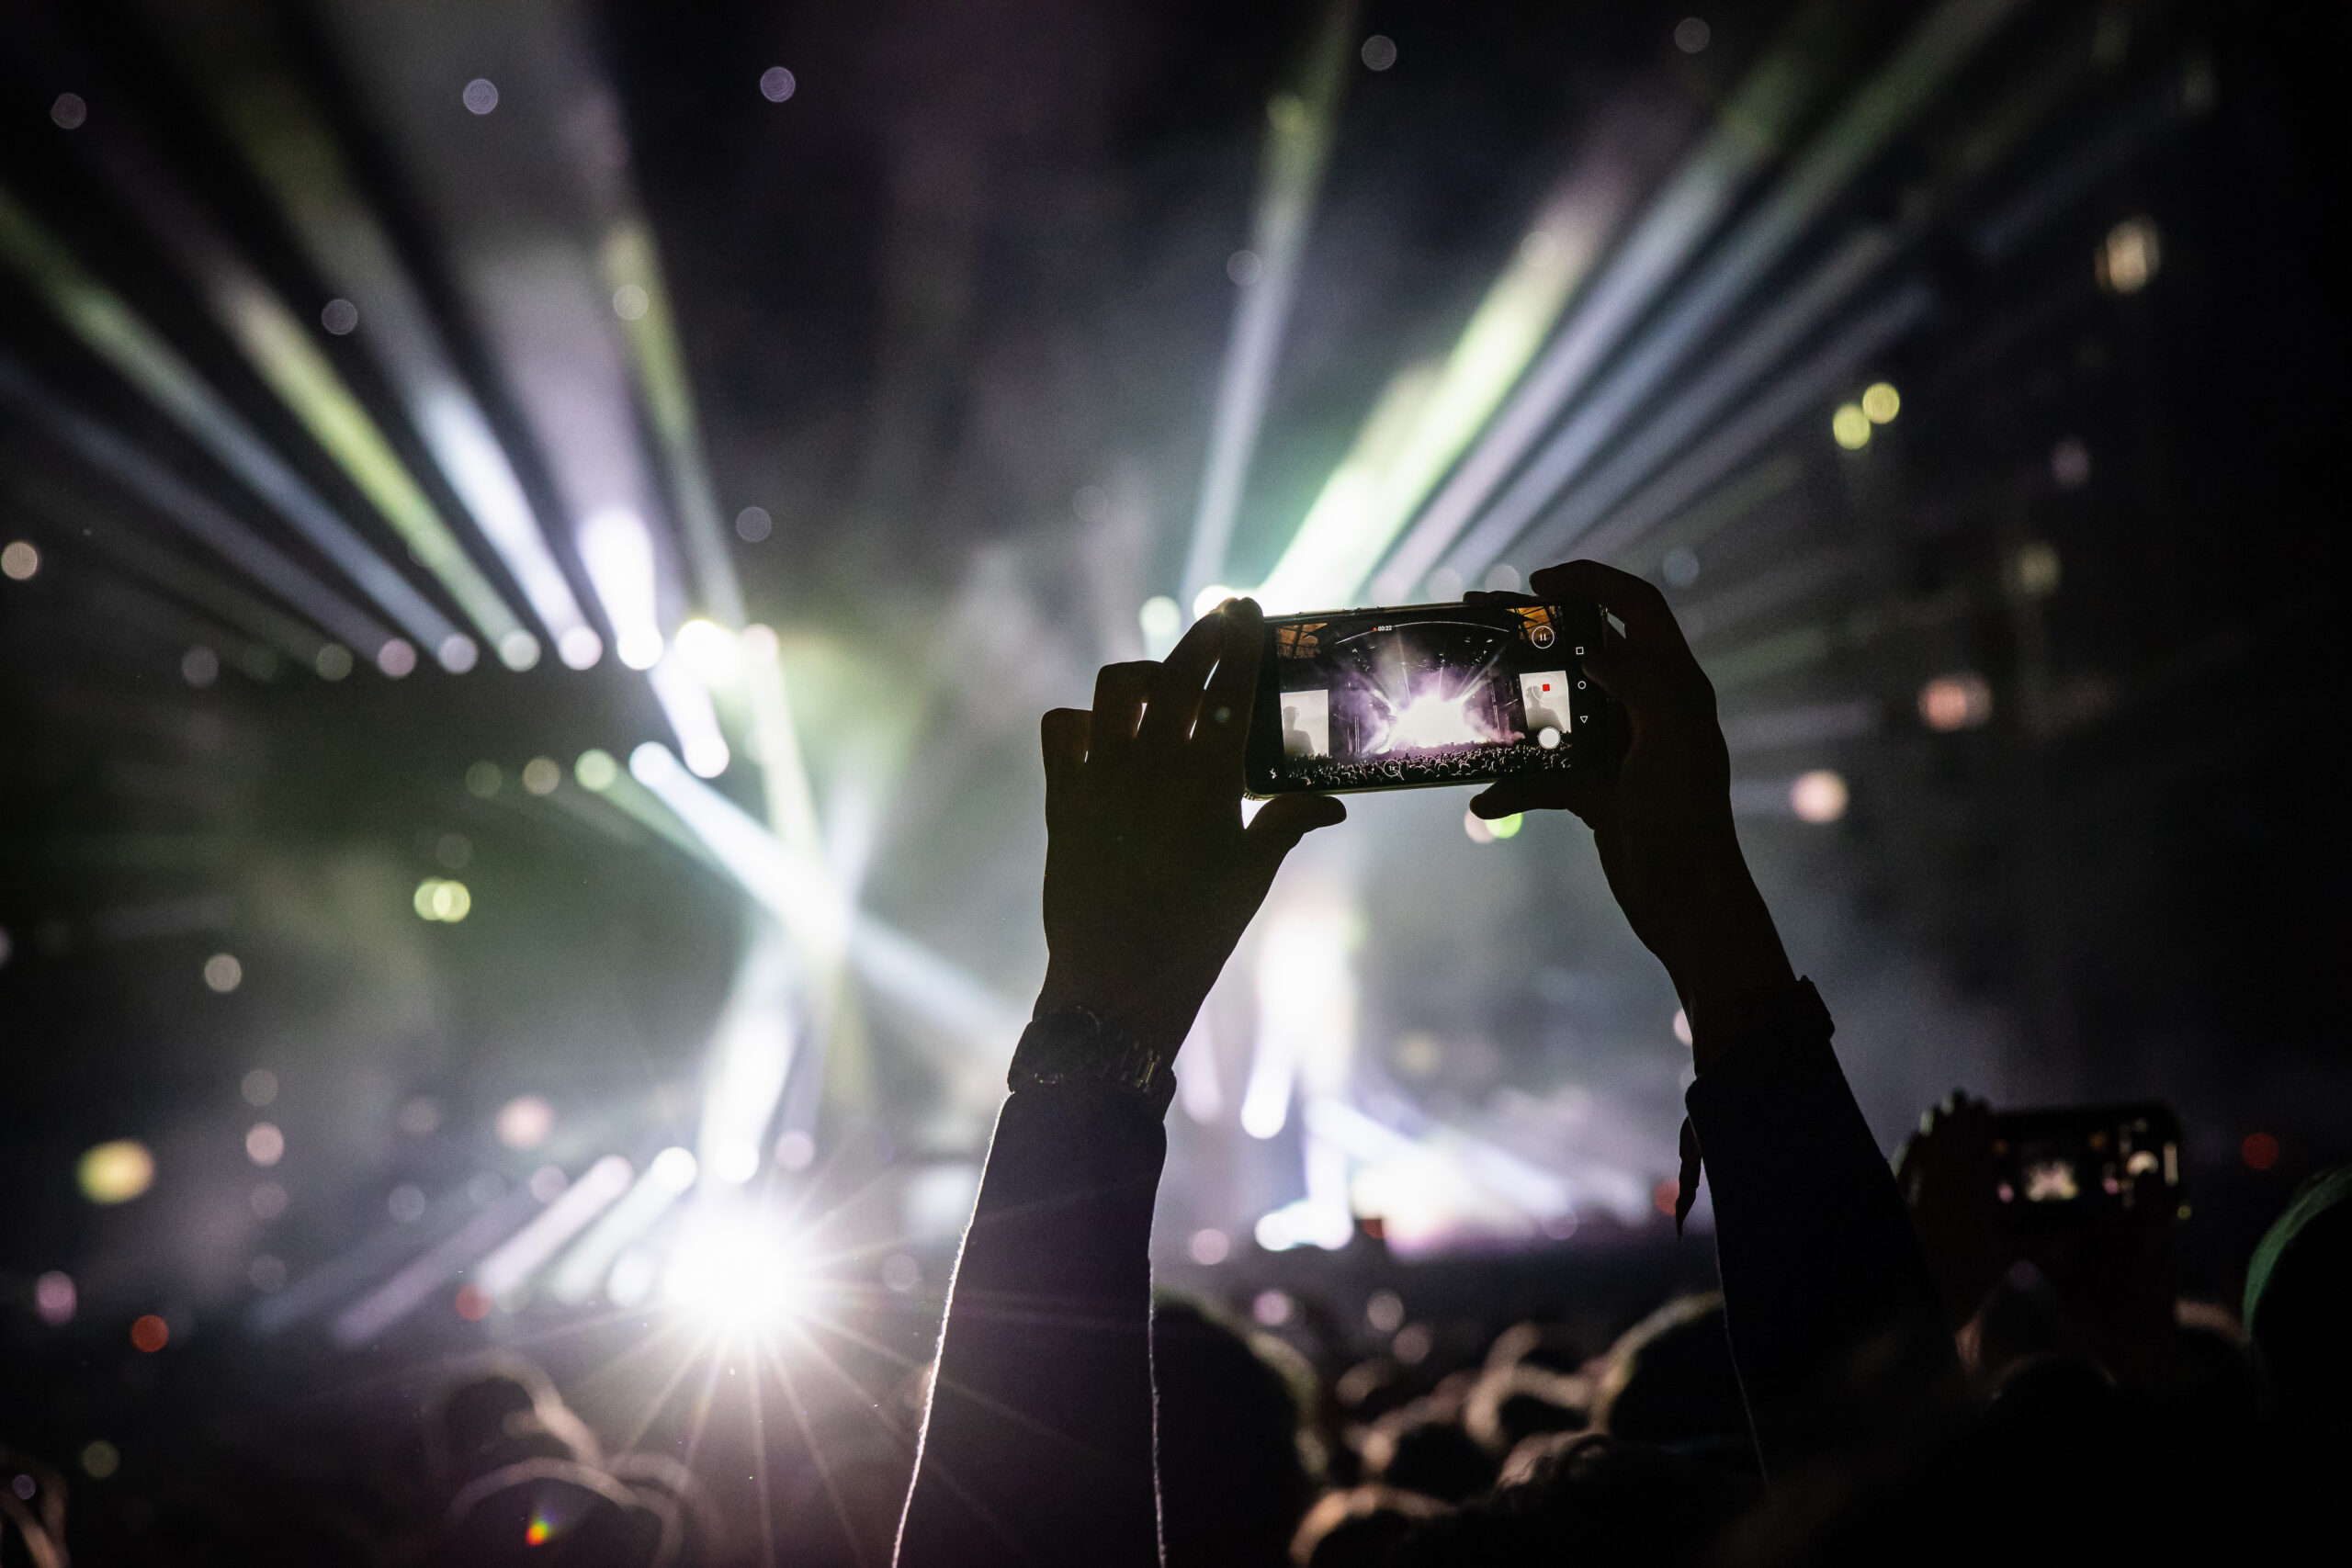
Tips and tricks may not turn us into professional photographers, but knowing how increases the rate of really good shots. Modern smartphones make it possible: they are no longer just communication devices, but also boast high-quality cameras. Macro shots and panoramas, continuous shooting and HDR function have long since become a matter of course. Increasingly, smartphones are also being used to take gigantic pictures in twilight and darkness. Here we reveal how a few little tricks can help you get the perfect shot of your favorite band.
First of all – the crux of the legal matter
Not every organizer, not every band agrees to being filmed and photographed during the concert. You should adhere to these guidelines in order to avoid the risk of a warning. The personal rights of other visitors must also be respected. This applies in particular if the recordings are to be published on the Internet at a later date. But now let’s go!
Capacity is everything – preparing concert recordings
The camera’s technical data is easy to find. They can be found in the operating instructions, and the details are usually also listed under the settings themselves. We test how the camera behaves in similar situations in good time before the concert. This provides an initial indication of whether and how recordings will be made at the event.
However, the most important requirements are a full battery – and a power bank in your pocket. Continuous shooting in particular draws power. We also make further preparations in good time, preferably a few days in advance, to determine the effect. This includes the camera settings, which are preset at the factory and changed for the big day.
ISO – how it works in low light
Not only we, but also the camera of the cell phone sometimes sees worse in low light. If it is possible to reprogram the ISO setting, let’s get to work. To do this, we manually change the ISO value so that the light sensitivity is increased. The lower this value is, the less noise the camera will produce. The images become clearer and show more color. An ISO value of 100 is ideal; if this is not achievable, it should be set as low as possible.
The aperture – strong together
If you have the technical capability on your smartphone, you can also adjust the aperture. Aperture F1.5 makes sense for concerts. If this aperture is selected, however, the exposure time must become longer. A steady hand is worth a lot in this situation, or alternatively a tripod, which rarely comes in handy at concerts.
Automatic setting and app – night mode
If there is no way to change the aperture and ISO value manually, the automatic function may help. To do this, we switch on the “Night” recording mode. The camera then automatically adjusts to the residual light. Another alternative is an app that is also installed on the cell phone. Various apps are available for smartphones and iPhones. It pays to test beforehand so that nothing goes wrong at the long-awaited concert.
Now the time has come – photography in concert
If you know in advance where the concert highlights are, you can prepare yourself. However, spontaneous shots also have their charm. Even if it’s unusual: at concerts, we hold the cell phone horizontally, which results in better picture framing.
Flash off – trouble-free photography
A built-in flash rarely has the capacity to really bring light into the darkness. This applies to conventional cameras as well as cell phone cameras. In the first row, the flash may theoretically be of some use. Here, however, he may be interfering with the band. Photographed from the center, the flash only covers the immediate surroundings. It has no positive influence whatsoever on the image that is supposed to show the artist(s). Quite the opposite. The immediate surroundings are exposed too much, the background too little.
Red light interferes – wait for color change
If the stage is bathed in red light and fire effects are glowing, it is better to use a different color. Red light produces blurred, washed-out images that do not improve despite post-processing. We can spare ourselves that with a little patience.
Cropping instead of zooming – the better setting
Hand on heart: does the phone deliver zoom shots at the highest setting during the day that are really perfect on the screen? Congratulations, then the camera really is extremely good. However, it is usually the case that the images appear increasingly pixelated when using digital zoom. This effect is intensified in poor lighting. If the camera has an optical zoom, it may be worth a try. But we’d better start it outside the concert to avoid disappointment later on.
Focus instead of uniformity – determine manually
A better picture at the touch of a finger: the focus can be set manually on newer smartphones. Aiming at a dark spot on the stage brings a little more brightness into the picture. This can save the shot, because there are also limits to post-processing.
Continuous shooting function – one thing always works
What is the camera’s sports mode during the day can take over the continuous shooting function in artificial lighting. With ten pictures, there is usually one that comes close to the ideal of a good shot. With continuous shooting, we also run less risk of missing the really interesting moment on stage. Photographically of course, otherwise we should also take our eyes off the camera occasionally to see the artists.
The format – trial and error makes perfect
Of course, personal taste plays a part in deciding which format to choose. However, it is quite possible that the image quality will also change with the format. This camera characteristic can also be easily checked if you take test shots in good time before the concert.
Copied from the pros – post-processing photos
We’ve already briefly touched on it: taking photos without zoom and then cropping out the desired area afterwards can certainly promise more success than specifically selecting a section of the stage during the shoot. Sometimes, however, blurred details also have their charm. With the classic Photoshop, amazing effects can be achieved afterwards. The advantage is also that images can be enlarged or reduced in size without the quality suffering. In this way, we adapt them to the medium on which they are to be viewed later.
Exposure and contrast – getting the best out of it
These two options for retrospectively editing a photo are also easy for beginners. It takes some time to try it out, but with a little practice you will be able to improve your shots faster and faster. Barely visible contours are literally brought into the light.
Sharpness and noise – clear structures
We are also fine with these two improvement options. The background noise is eliminated with just a few clicks. There is a choice of different variants for improving the sharpness. But be careful: the edited image may look different on the display of your cell phone than it does later on your laptop or on the Internet. Usually too much is processed, less is sometimes more.
Color and saturation – vivid images
As with contrast and exposure, editing the color and saturation can optimize or even save many a shot. Whether more color or less is the right way to go, whether a warmer or cooler hue depends entirely on the original shot. Whatever you like is allowed. Sometimes a personal style is found that makes pictures unmistakable.
Select filters – look at things with different eyes
Some pictures look very good with a change. This is also where the joy of experimentation comes into play. Cell phones offer a range of choices that we just have to select. Apps can sometimes do even more. Sometimes frosted, sometimes blurred, picture edges dissolved or immersed in other colors. Distortions are possible, artistic transformations can be chosen to suit the concert and the band. Here the nostalgic look, there snippets, tiles or the film reel.


